Last weekend I pressed my lovely wife into service once again and we set the engine cover back down on the car and pinned the hinges, completing the Final Assembly phase of this build.

The car starts, runs and drives and is ready for fettling and registration.
I set about getting the all-important leather hold down straps installed.
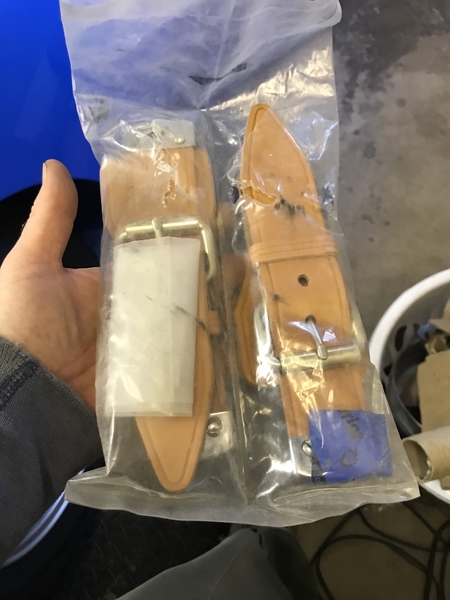
Of course, this being a replica, the screws that came with the front section of the straps were too short to get the nuts through the fiberglass. I happened to have a couple longer screws of the correct type, so they’re in for now, pending the purchase of four more longer stainless screws.

The cover fits nice. I turned the latch adjuster about two full turns on the driver’s side and that was it. Installed my clam pin receiver things (loose–they need a couple nuts as well).
Tested my home-brewed quarter-turn latches.
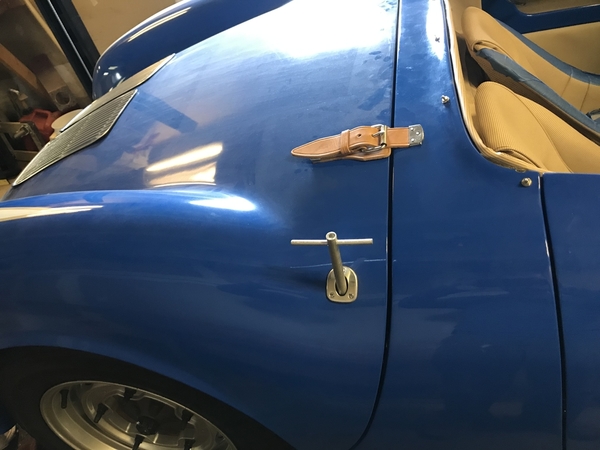
They work better than I remembered: not hard to find the square turn thingie with the key, and the latches spin and lock nicely.
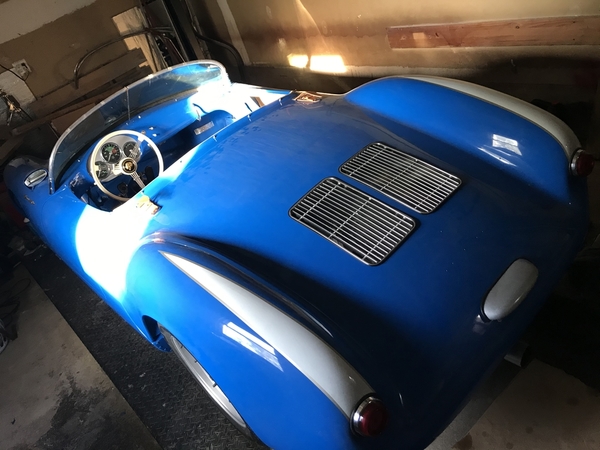
Spare tire looks about right on its saddle.

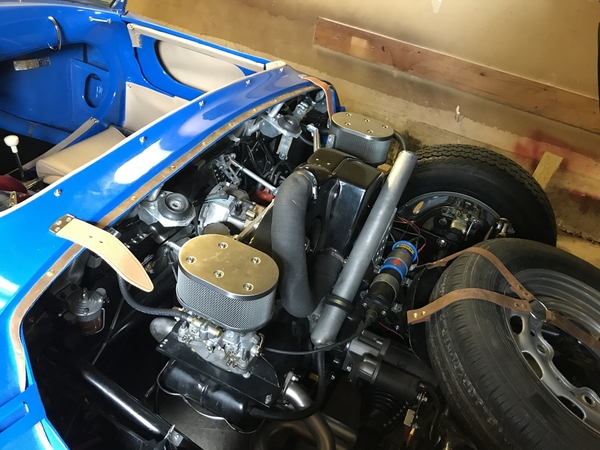
(Here’s a gratuitous shot of 550-0056’s engine and inner clam from a similar vantage point):

I installed the rubber gaskets on the bottom edge of the clam—these were on the originals but I’ve never seen them on a replica. The clam stay, installed with nylocs now and the little pin-keeper thing chained on. 
I tested the tail lights and then installed the lenses over them.
All these neat final touches came after getting the horn button sorted (with some complications, including the purchase of a new horn button), the crank pulley shimmed and a glitch with the Malpasi “Filter King” fuel pressure regulator. I will recount these in the interest of the complete record.
The horn button saga started moments after I took the car for an illegal spin round my block, to test the clutch and shifter linkage, brakes and to make sure I had the steering wheel properly centered.
I did.
But the wheel had a “wobble.” The shaft felt loose in the column–weird since I knew the bearing was good.
So I pulled the wheel and discovered I had installed the bushing under the spring upside-down. Easy fix.
I removed the beautiful “Golden Lady” horn button from its decade-old bubble wrap, tested the horn lead once final time, cinched up the wire with the set screw in the button and commenced to pressing it in place.
After a futile minute I decided what was needed here was a very gentle, soft drift, which my wife’s plastic mug she used in pottery seemed to fit the bill.

A few minutes after that I had a ruined $80 horn button…

New one ordered.
Dremeled the inside the the steering wheel and greased it for the next one. That worked.

Meantime I noticed the fan belt was not perfectly straight, so researched that and ended up with a shim kit to bring the crank pulley out. It’s not enough to make them line up perfect but, as the alternator pulley can’t go further back, this is it.
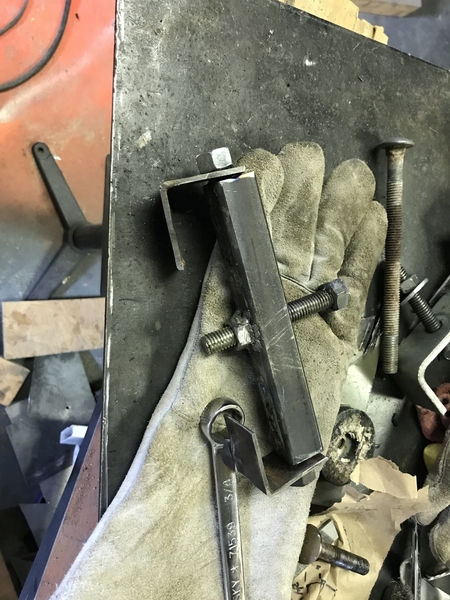
I made a pulley puller out of some junk metal and got that all done.

 Filed a couple timing marks into the pulley at 0 and 30 before to aid in checking the timing. Then checked the timing. It seemed to get to 30 a little late—more like 4000 rpm than 3000—but I couldn’t be more precise because the dang fuel bowl was leaking under the Filter King.

That was a whole bugger. Gas seemed to be seeping past that top seal. The seal itself seemed to be OK but those four top screws were in as tight as possible. Then I discovered they were bottomed out. So (instead of adding a washer line a normal person would) I chopped an eighth inch off each one and reinstalled.
No joy. In fact it leaked way more then. I was taking the part off to bypass when I accidentally spun the thumbscrew on the bottom. Yep. Tightened that a turn and a half et voila. No leaks. (So far).
After that I turned my attention to the oil temperature gauge.
In setting the carbs with the snail I’d noticed the temp needle never got much off the pin. Seemed to just float where it kind of stays anyway, in the 60C neighborhood. I was thinking it should at least get near 80 (176 F).
So I grounded the wire and that pinned the needle on the gauge (140C), showing me that my problem was neither the gauge nor the wire, but the sensor. I got a 19mm wrench on that and it turned out the whole two-sender thingamajig. It’s a little inaccessible.
When I got that mess out I found a blob of white sealant and couple of turns of case thread on it. Oh NO!
So I cleaned all that off it and put it back, along with the original temp sensor the car came with, with some Permatex Ultra Gray. If it leaks I’ll helicoil the hole. For now I need to see if this other temp sensor gives reasonable readings.
The one I pulled was new–came with the gauge from North Hollywood Speedometer (I think). It reads “150” on the side. I’m now thinking it’s possible that, sitting in my driveway and idling for an hour on a spring day, I simply never got the engine warm enough for the gauge to “work.”
We’ll find out next time I run it. Soon.


It’s truly astonishing to see the end product- its come so far. I appreciate the time and effort put forth and was my pleasure to be a part of it. When family calls if it is within my power it is done. Truly does the heart good to see your talents at work. Astounding and beautiful work, Much love cuz
LikeLiked by 1 person
Great content ! Thank you for taking the time to post all those pictures and describes your processes on the 550.
LikeLike