The Spyder was not known for its trunk space. Some of the early cars stowed a spare tire up under the bonnet, many others just had humungous 26-gallon fuel tanks up there sharing space with the six-volt battery, the brake and clutch reservoirs and, well, nothing much else.
Replicas have it a little better. The VW fuel tank that’s usually adapted is a compact 10 gallons or so, and some replicas even move the battery to the back of the car, freeing up more space.
Replicas commonly also lack the airbox directing wind at the front oil cooler, which in the real cars protrudes about five inches up into the space under the front hood.
Our example has a truncated airbox, leaving a bit more room for an overnight bag up front. This week we stole some of that room away in the interest of original style.

I made these holy aluminum side panels to mimic what the original cars had. Though seldom seen (and quite variable), the panels boxing out the headlights, horns and brake cooling ducts probably served to stiffen the body panels somewhat. Some examples:

This is 550-001

550-0090, I believe. You can just about see the panel with access hole down in the inky shadows.

Carrera Panamericana car, I believe.
My panels are attached with six stainless steel 8/32 screws and so will be easily removable for maintenance (or to stuff a couple camp chairs in there). Here’s how they came about:

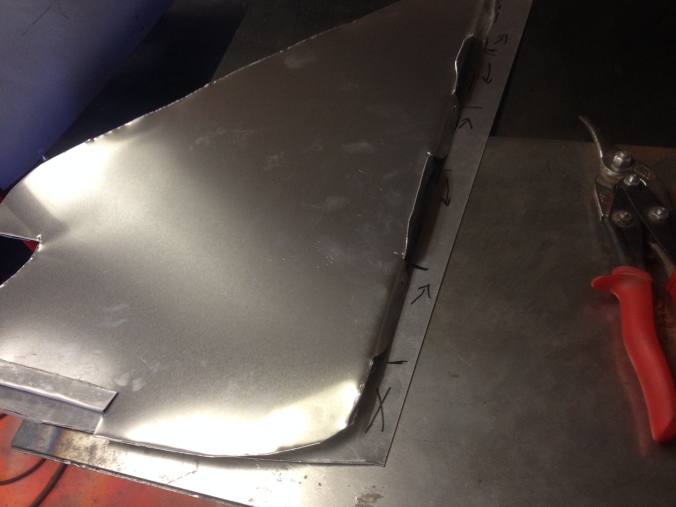
Beginning with the usual cardboard template, we cut out two matching(ish) sheets of 18-gauge aluminum,
 bent tabs along the initial business edge…
 …and trimmed to fit.
Returning to the cardboard, we made the holes…  …transferred that pattern to a wood buck/die, cut that…
 …and then center-punched the aluminum.
 Cut the aluminum….
 Flanged the holes using my handy die-and-croquet-ball method…
 And affixed the panels to the front firewall with self-tapping screws.
 Not bad! But still nothing holding them in on top or bottom towards the front. And I wanted more durable fasteners, so I rummaged around the rivet bin for the riv-nut thing,
  and went to the Despot for some stainless 8-32 machine screws and washers.
 Drilled-out the screw holes and installed the threaded inserts.
 Then I epoxied a couple of eight or ten-by-two-inch bits of thin aluminum plate along the top edges on each side, plus a couple of L-shaped sheet brackets on top of the brake cooler intakes, to give the tops of the panels something to grab.
Wove in this air-excluder plate surrounding the frame extension.
Screws, not rivets, for easy access. Panels in.
They’ll still need a bit of fettling to knock the burs off and/or trim the edges with plastic guards so they’re not a hazard. But, basically all done.