Projeckt Spare Tire Mount is close to completion now after a couple day’s drilling.
Started out Monday chasing those legs for the bent transmission brace. Mike at the muffler shop again came through with a length of 2-inch aluminized exhaust, and I trial fit it with the grinder until it kind of lined up.

 I dragged the buzz box over and tacked the bars in place, then pulled the whole thing off to weld it more.

 I ended up cutting little pieces to fill the gaps, then grinding the hell out of it when I was done. Fits nice though.
  Looks the part.
 Picked the car up to drill the bolt holes (remember, this whole mess has to be easily removable or there’ll be no way to get the engine and trans in and out later).


 The new starter came so I popped that in to check clearances.
 No problem.
And let’s pause here for a moment to review what we’re trying to do. Here’s a shot of 550-0090’s starter and spare tire seat…

And here’s a picture of 550-0051—the car we’re copying—while under restoration about a decade ago…
 The bent bar was the rear transaxle mount, and two bolts through the top secured the trans. On this car we’ll weld in nuts so the spare can be further secured by bolts if desired.
 This is in case the leather straps aren’t enough.
 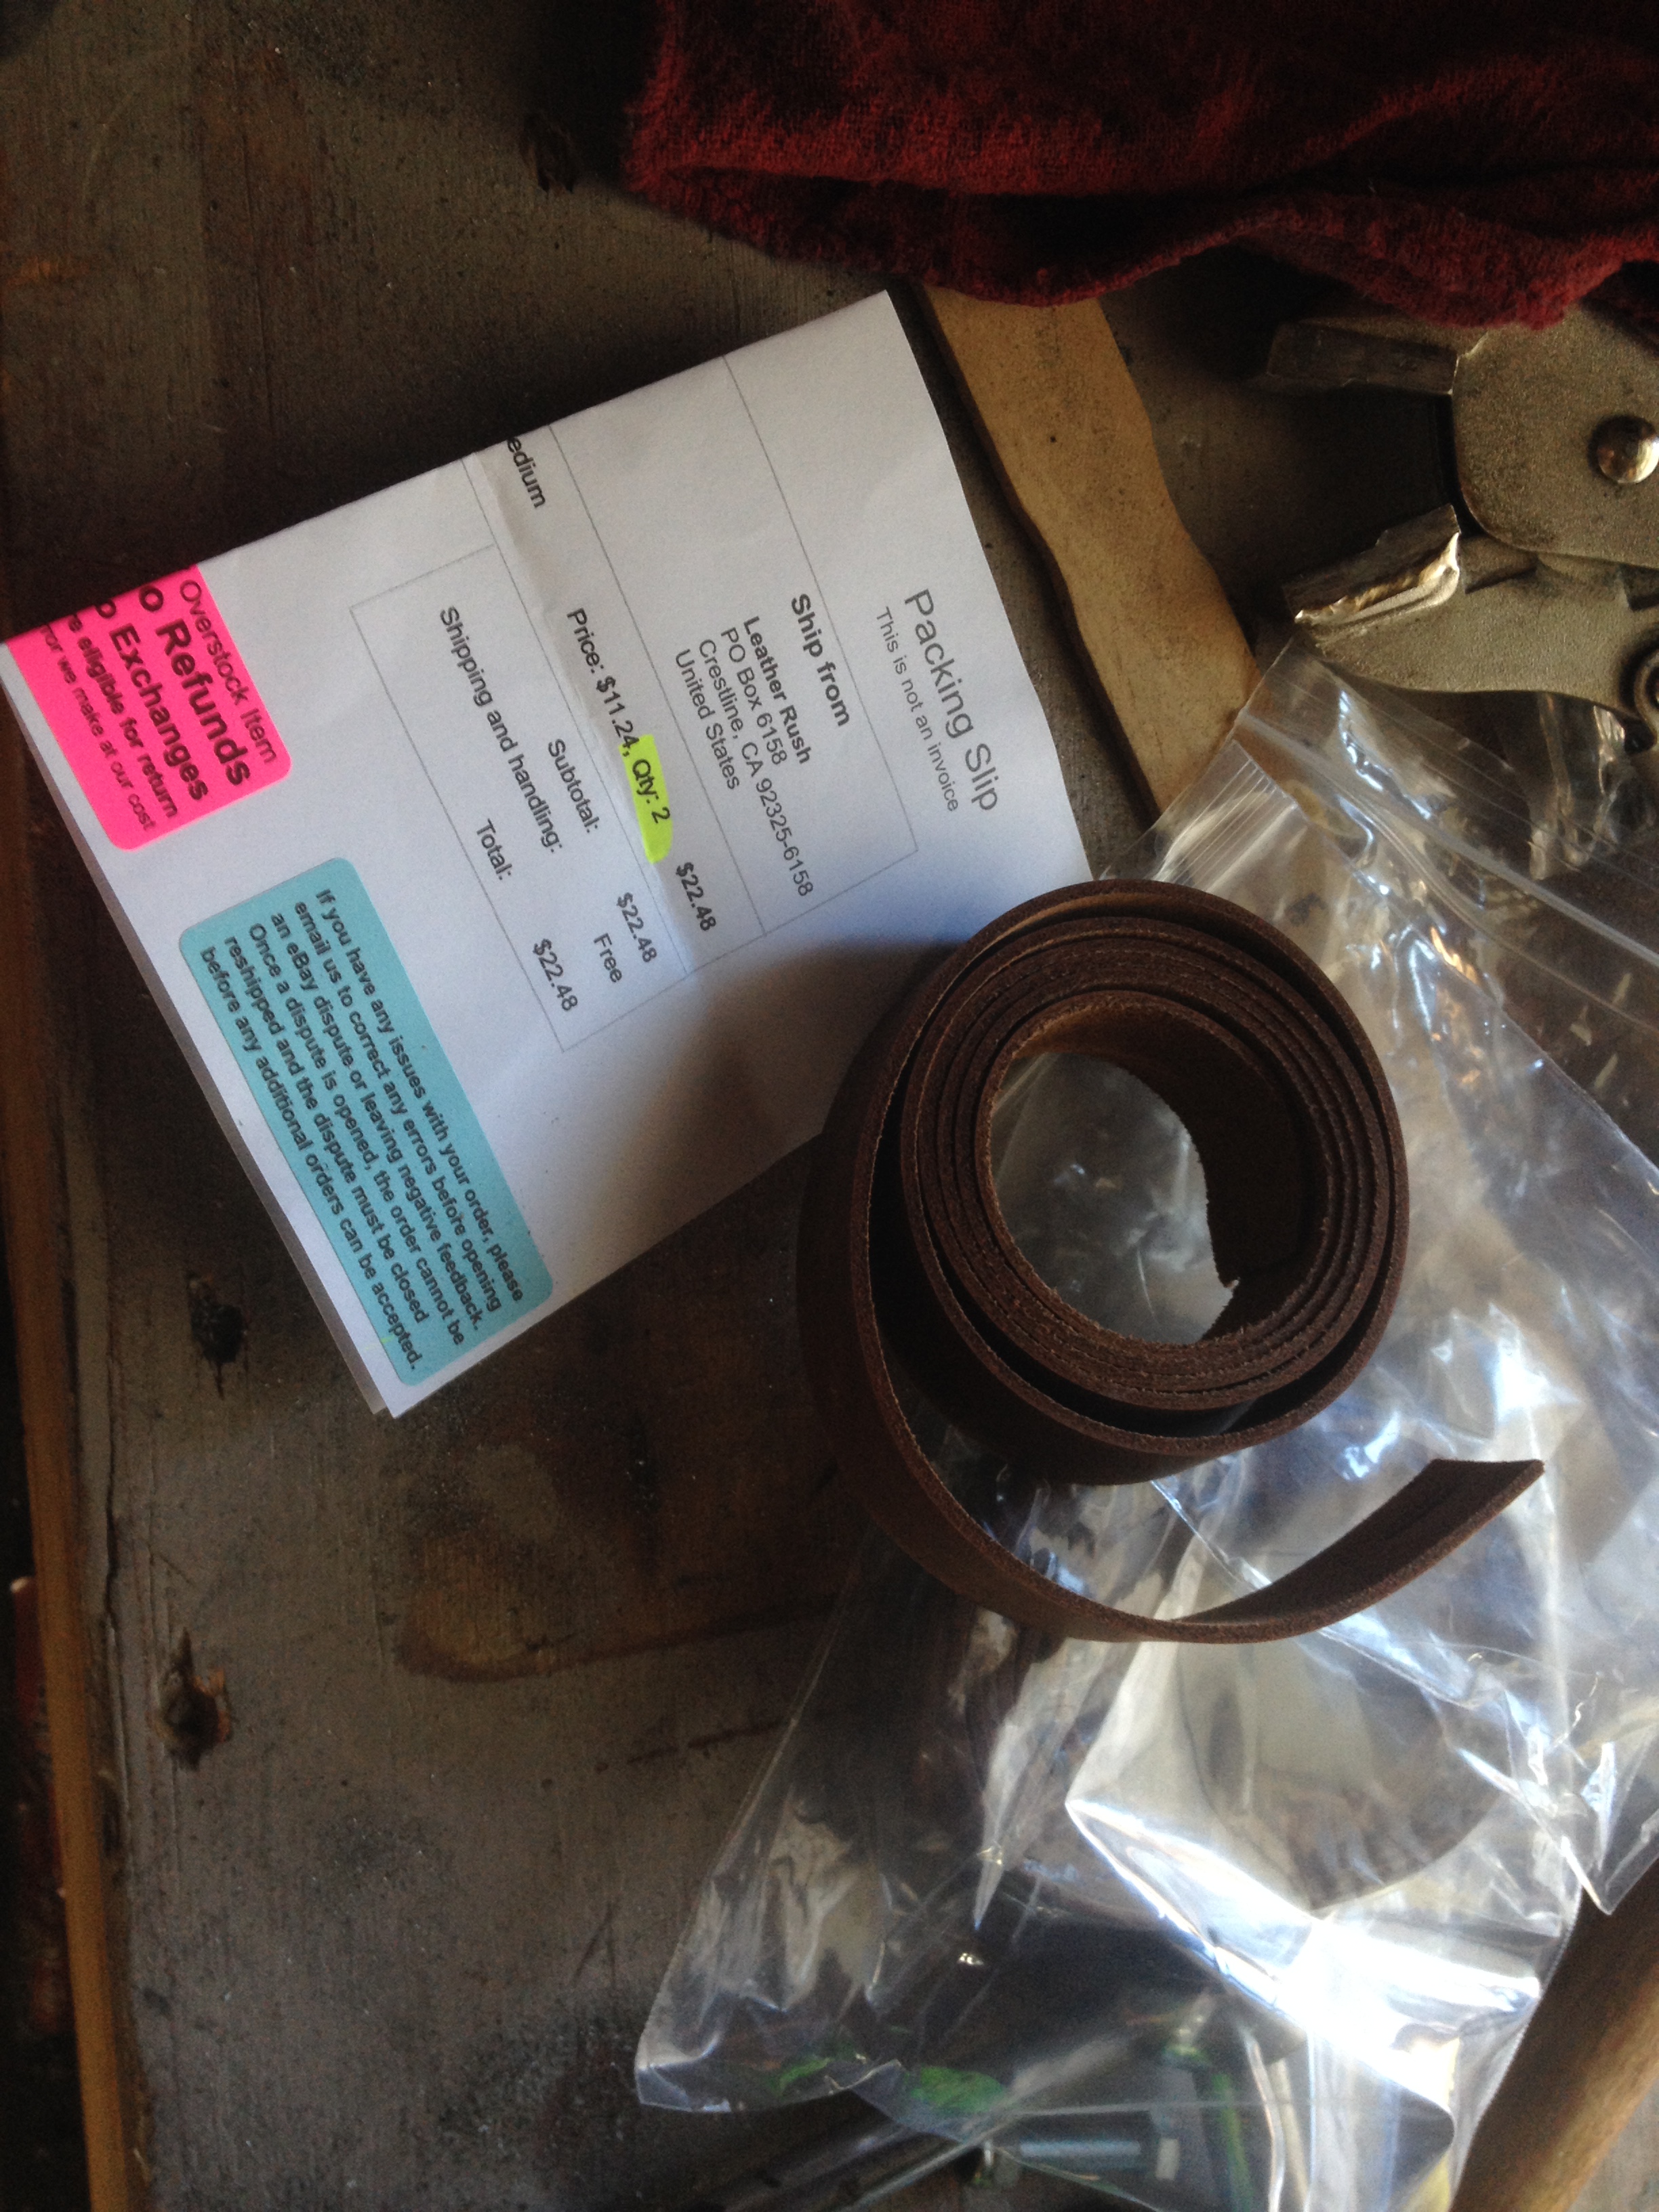 In that vein, I also turned up the welder a notch and re-did the cross-brace welds for better penetration.
 Unlike the stick welder, this 120/AC wire feed one does not want to burn through anything thinner than quarter-inch plate.
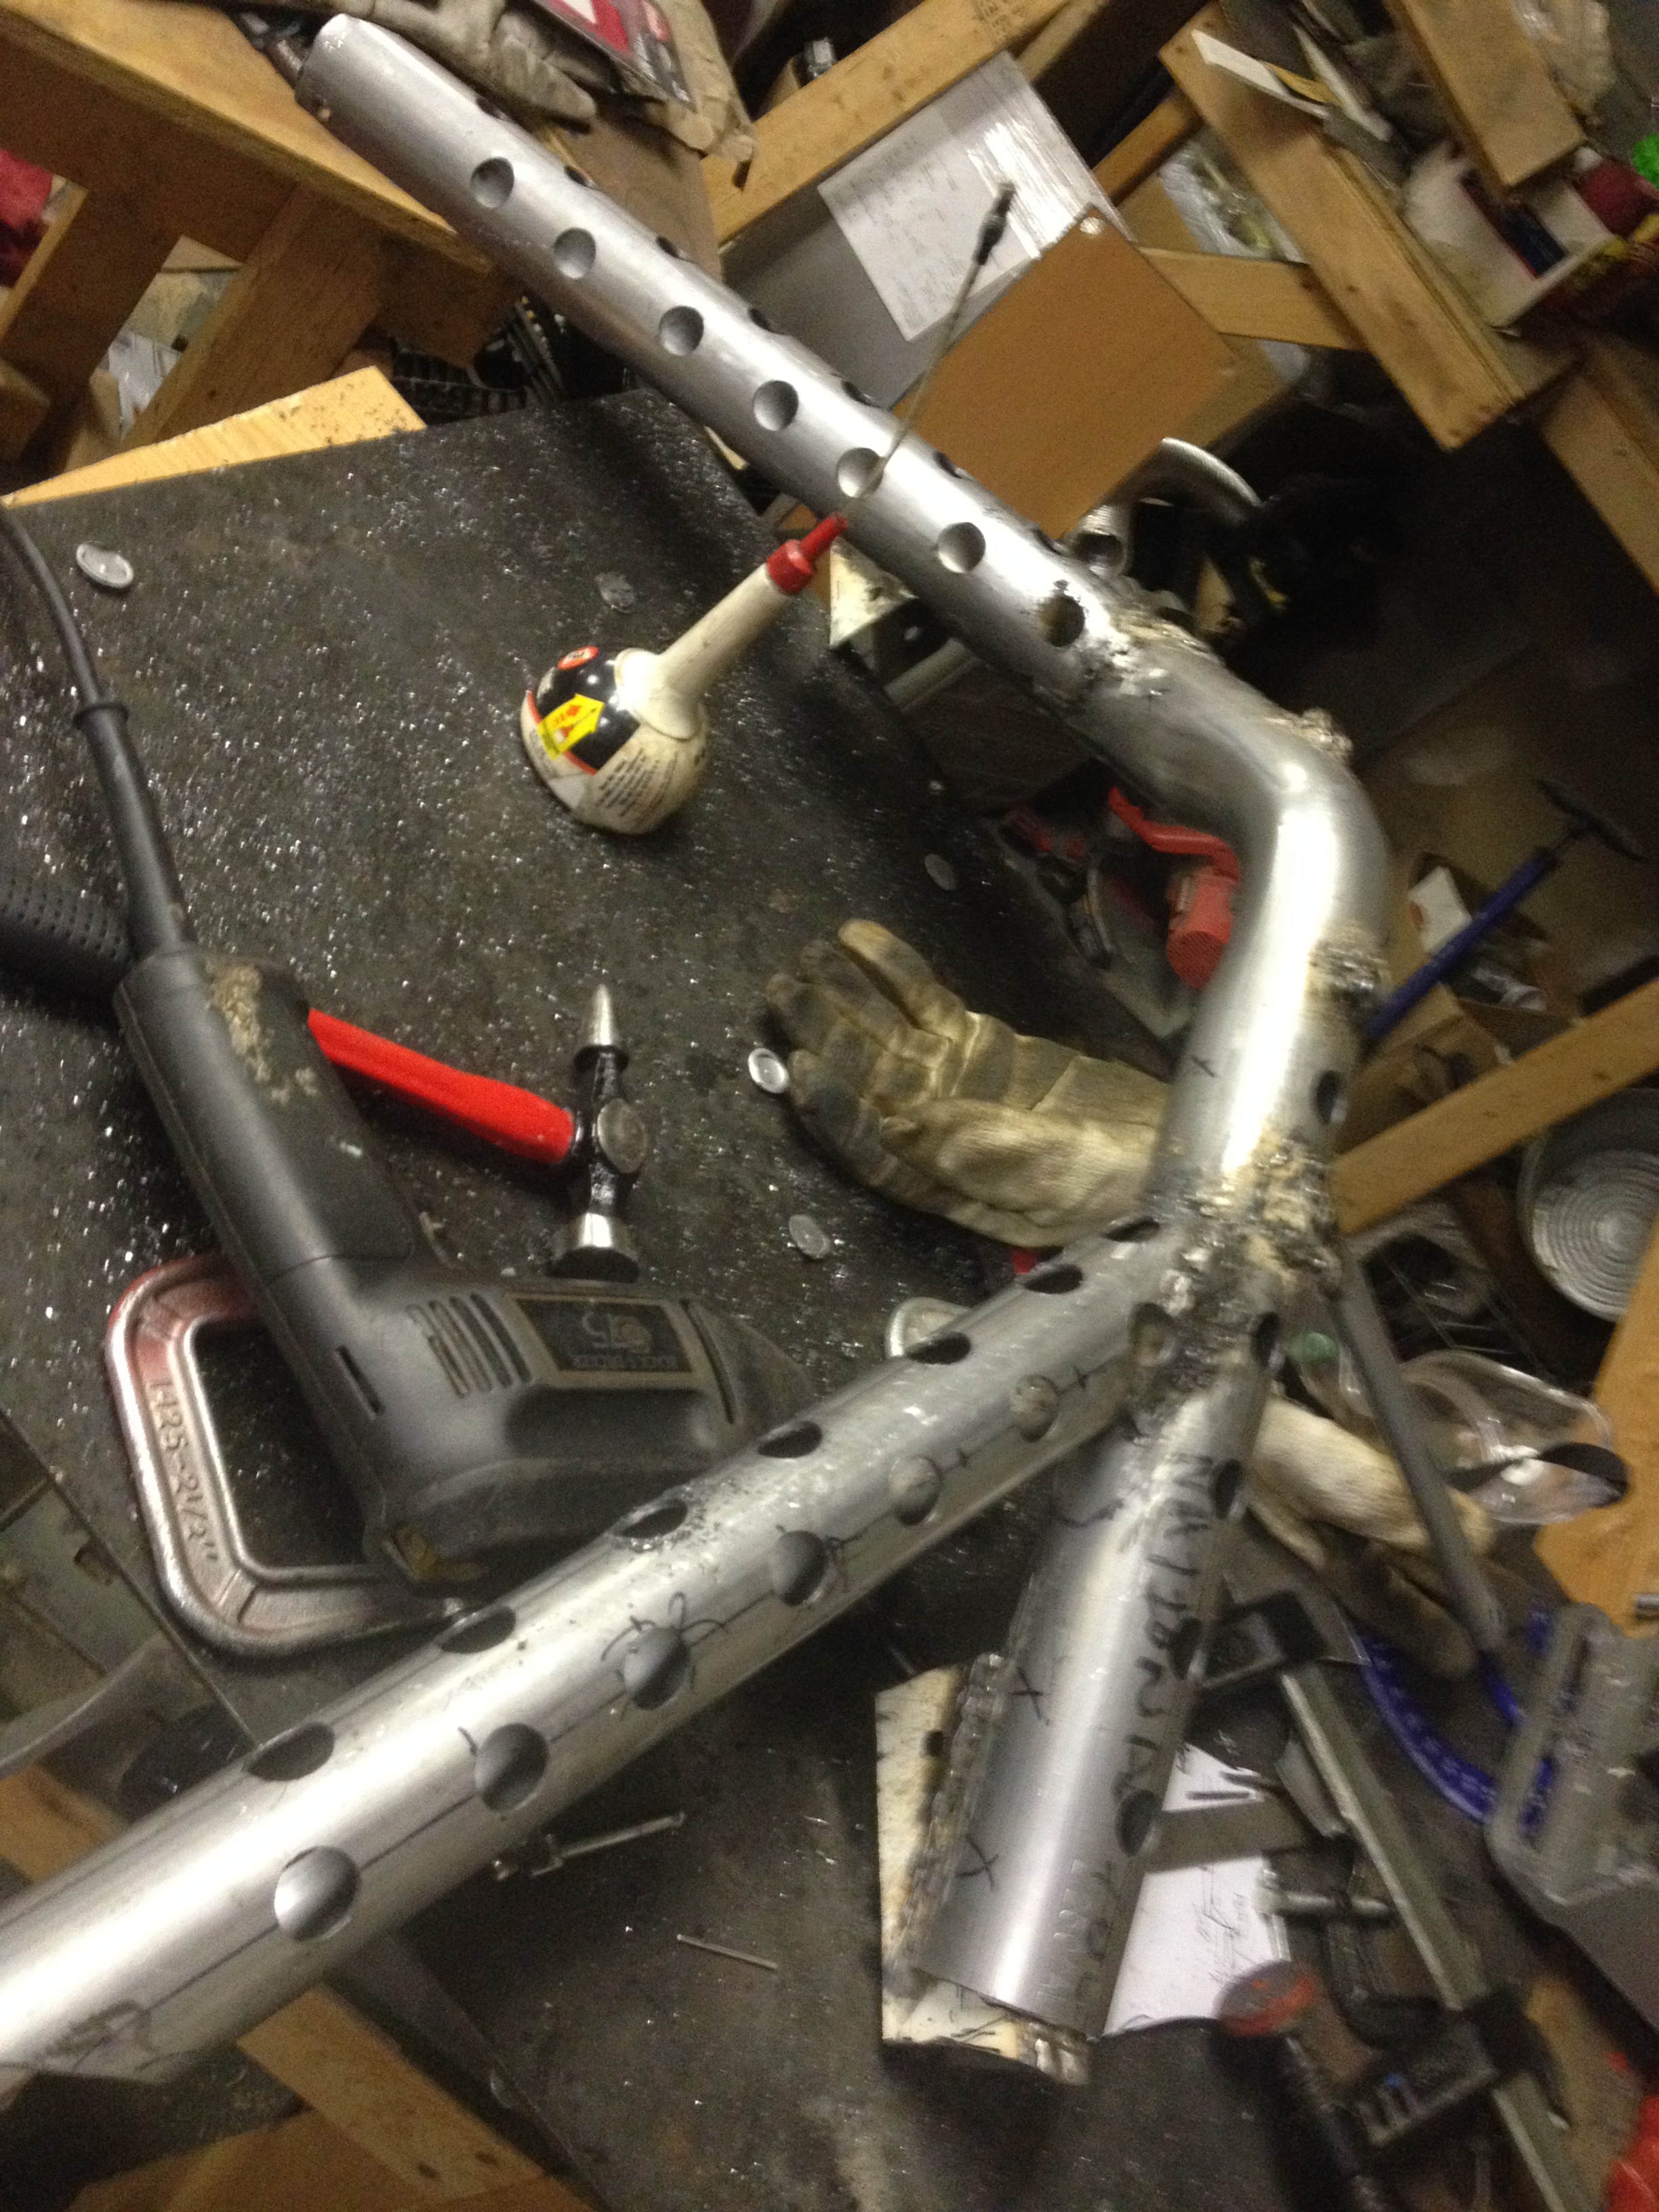
From there it was holes. Seventy-two of them in the bent pipes. That hole cutter is a nice bit of kit. I could not have cut these holes without it. But I did break the big cutting head on about hole number 68.
 Not sure how or why. I used about a quart of 3-in-1 oil to keep things moving.
Got the last few done with a step drill.
Next thing was cleaning off all that oil, grinding the welds, hitting the bars with a little filler (to make the welds look less like I did them and more like someone who knows how to weld did them) and then, paint!

 Just warm enough for a couple coats of primer and then three shots of black chassis/roll bar paint.
